Dog Afraid of Hardwood Floors? How to Help Your Dog Walk Confidently
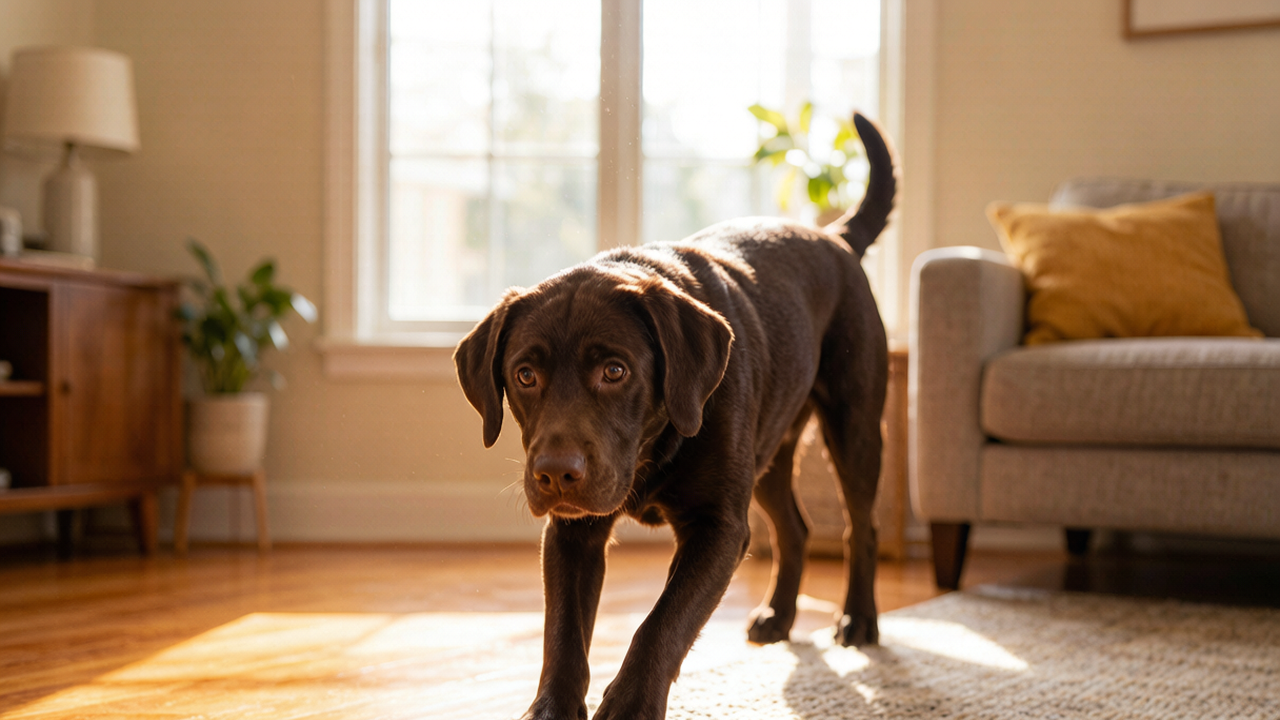
A dog that freezes at the edge of a room, refuses to cross a slippery floor, and hops from rug to rug is a common sight after a move to hardwood or tile. The behavior looks dramatic, but it usually has a concrete cause — and it is very trainable.
Hardwood, polished concrete, and tile offer little traction, especially for dogs with long nails, overgrown paw fur, or no prior exposure to slick surfaces. A single unnoticed slip can create a lasting aversion. The good news: most cases resolve with traction fixes plus gradual, positive-reinforcement desensitization. [source: AKC training guidance]
The sections below cover why the fear develops, the mistakes that make it worse, and a step-by-step protocol trainers use to rebuild confidence on slick floors.
Why a Dog Suddenly Hates the Floors
Dogs do not develop floor phobias to be dramatic. There is almost always a concrete reason, and identifying it shapes the fix:
An unseen slip or fall. A single wipeout on polished concrete or ice can create a lasting aversion even if the dog appeared fine afterward. The memory, not the moment, drives the fear.
Nails that are too long. When nails click on hard surfaces, they act like ice skates, lifting the paw pads off the ground so they cannot grip. Keeping nails short so they do not touch the floor is the first traction fix. [source: ASPCA dog care]
Overgrown paw-pad fur. Fur between the pads creates a slick barrier between the pad and the floor. Trimming it flush restores contact and grip.
Pain or joint issues. This one matters most. A dog that was fine on hardwood last month and is suddenly terrified may be in pain — arthritis, hip dysplasia, or a pulled muscle all make slick floors genuinely uncomfortable. A veterinary check is warranted before any behavior plan. [source: AVMA pet owner resources]
Vision changes. Older dogs with fading eyesight struggle to judge depth; a shiny reflective floor reads as an uncertain abyss.
No prior exposure. Dogs raised on carpet may simply never have learned that hard floors are safe — an entirely alien surface to them.
Mistakes That Make It Worse
Several common reactions actively deepen the fear. Skipping them saves weeks:
Dragging the dog across the floor. Forcing movement while the dog panics destroys trust and confirms that the floor is dangerous. Never do this.
Tossing treats far into the "danger zone." Scattering rewards six feet onto bare floor asks too much too fast; the dog cannot process a reward that deep into the feared area and simply freezes. Start at the rug's edge.
Relying on stick-on paw grips alone. Some dogs tolerate adhesive pads; many frantically lick them off. They are a supplement at best, not a foundation.
Assuming rugs alone solve it. Loose rugs slide, recreating the slip. Without non-slip pads underneath and a connected path, the dog still refuses to leave the rug.
The Step-by-Step Fix
The protocol below combines traction fixes with counter-conditioning. Trainers use it to rebuild confident movement on slick surfaces. [source: AKC training guidance]
Step 1: Fix the Traction First
You cannot train confidence on a surface that is genuinely unsafe. Make the floor less slippery before any behavior work:
- Trim the nails so they do not touch the ground when the dog stands. This alone often restores pad contact.
- Trim paw-pad fur flush with the pads using blunt-tipped scissors; a groomer can do it in minutes.
- Use non-slip rug pads underneath rugs — the rubber-gripped kind that stops the rug shifting when stepped on.
- Build a "safe path" of connected runners from bed to water bowl, couch to door, bedroom to kitchen, so the dog can navigate without touching bare floor if needed.
Step 2: Counter-Condition the Floor
The goal is not to force the dog onto the floor but to make the floor predict good things. Work from the dog's safe rug:
Place one high-value treat at the rug's edge, where rug meets floor. Then place the next treat one inch onto the hardwood. Do not coax or lure — simply let the dog decide. A dog may stare at that first inch of floor for nearly a minute before stretching to grab the treat and retreating. Mark the success calmly and repeat.
Session two: one paw on the wood. Session four: two paws. By the end of the first week, the dog may take several confident steps off the rug for a treat. The rule is to never push past readiness — if the dog retreats, step back to an easier distance. Keep sessions to 3-5 minutes and always end on success.
Step 3: Generalize Across Floors
Dogs can be surprisingly specific: a dog comfortable in the living room may still fear the kitchen because of different lighting, wood tone, or reflectivity. Repeat the same protocol from each new doorway. Later floors usually progress faster — often in a few days rather than a week.
Step 4: Handle the Stairs
For hardwood stairs, adhesive carpet treads on each step remove most of the problem immediately. For training, start at the bottom: one treat on the first step, then the second, never a whole flight in one session. Going up is typically easier to teach than going down — train up first, and teach descent separately once ascent is solid.
How Long Does This Take?
For most dogs with consistent daily sessions: 1-2 weeks to see real progress on flat floors, and 2-4 weeks for stairs. A younger dog with a milder initial scare improves fastest; an older dog or one with underlying pain improves slowest.
If after two weeks there is zero progress, prioritize a veterinary check. Many owners waste time on behavior work while the dog is actually in physical discomfort. [source: AVMA pet owner resources]
Paw Wax, Booties, and Other Products
Owners often ask whether gear can replace training. A quick rundown:
- Paw wax (Musher's Secret type): Helps slightly with grip on mildly slick floors but will not fix a true phobia. Best as a supplement to training.
- Grippy socks: Useful for senior dogs needing maximum traction; tolerance varies widely by individual.
- Toe grips (rubber rings on individual nails): Work for some dogs but are fiddly — they slip off and need frequent replacement.
- Booties: Often overkill indoors, and most dogs need separate desensitization just to wear them.
The most reliable combination remains rugs with non-slip pads underneath plus the gradual training protocol. Other products are bonuses, not replacements.
Why the Owner's Reaction Matters
A frequently overlooked factor is the owner's own body language. When the owner tenses and uses a high, coaxing voice at the edge of the rug, the dog reads that arousal as confirmation that something bad is about to happen. Staying calm — neutral posture, quiet voice, letting the dog choose — often doubles progress. Dogs take emotional cues from their handlers; an anxious owner produces an anxious dog. [source: AKC training guidance]
If Nothing Is Working
Some dogs have a genuinely severe floor phobia — especially rescues with unknown trauma histories. If everything here has been tried for 3-4 weeks with zero progress:
- Get a full veterinary workup, including joint and vision assessment.
- Consult a certified positive-reinforcement trainer or a veterinary behaviorist.
- Discuss whether anti-anxiety medication could be a humane bridge that lets training take hold — a recognized option, not a failure.
Seeking professional help is a normal, responsible step, not a last resort born of failure.
Most dogs eventually move across hardwood confidently, sometimes still preferring the rug path out of habit, but no longer trapped or afraid to reach water and food. For owners starting out, the nail trim and a non-slip rug pad alone often resolve a large share of the problem before training even begins.
🐾 Enjoyed This Article?
Save it for later, share with a fellow pet parent, or check out more tips on our homepage!
If You Want a Head Start on Gear
Non-slip rug pads and traction aids are widely available; if you'd like to compare current options and reviews, major retailers carry them: