How to Remove a Tick from a Dog or Cat Safely (and When to Leave It to a Pro)
You're scratching your dog behind the ears and your fingers catch on a small bump that definitely wasn't there yesterday. Or you're brushing your cat and notice a tiny, grayish lump that seems glued to the skin. It's a tick. Nobody's happy to find one, but it's a pretty common part of life with pets — especially in warm weather and anywhere there's tall grass, brush, or woods.
The good news is that a single tick, caught and removed properly, is usually no big deal. The bad news is that removing it the wrong way can actually make things worse. Here's how to do it right, what to skip, and when it's smarter to hand the job to someone with more experience.
First, Make Sure It's Actually a Tick
Before you reach for the tweezers, take a second to look closely. Ticks get mistaken for a lot of things: skin tags, moles, scabs, and — on female dogs — nipples. Part the fur and get a good look in good light. A tick has legs and will usually be attached to the skin at just one point, often with a small reddish ring around the bite. It may look like a smooth pebble that swells as it feeds. If it's moving, or if you can see tiny legs near the surface, it's a tick. If you're genuinely not sure, don't pull at random — ask someone who knows before yanking at something that might belong to your pet.
Where Ticks Like to Hide
Ticks are sneaky, and they head for the spots where they're least likely to be noticed. After a walk in tall grass or woods, give your pet a quick once-over in these areas:
- Inside and behind the ears
- Under the collar
- Around the eyelids and muzzle
- In the armpits and groin
- Between the toes
- Under the tail
A quick check after every outing catches ticks before they've had time to attach for long — which matters, because of what comes next.
Why the "How" Matters
Ticks aren't just gross — they can carry diseases, including Lyme disease, ehrlichiosis, and Rocky Mountain spotted fever. And here's the part a lot of owners don't realize: it usually takes a while for those diseases to transmit. A tick typically needs to be attached and feeding for roughly 24 to 48 hours before most of the dangerous stuff moves from the tick into your pet. That means the sooner you find and remove one, the lower the risk.
But the way you remove it matters too. Squeezing a tick's swollen body, twisting it, or jabbing at it can cause it to regurgitate its stomach contents back into the bite — which is exactly what you don't want. That's the whole reason the "right technique" exists.
What Not to Do
Before we get to the good stuff, let's clear out the myths, because some of these old "remedies" are still floating around:
- Don't burn it off with a match or anything hot. You're aiming flame near your pet's skin and fur — and it doesn't make the tick let go. It just makes it panic.
- Don't smother it with petroleum jelly, nail polish, or dish soap. Ticks can hold their breath a remarkably long time, and waiting around gives disease more time to transmit.
- Don't squeeze, crush, or pop the body. This is the big one. Squeezing the belly can push infected fluid into the bite.
- Don't grab it with bare fingers. Ticks can pass disease to people too, so keep your skin out of it.
What You'll Need
Gather everything before you start — a wriggly pet won't wait while you hunt through drawers:
- Fine-tipped tweezers, or a tick-removal tool (the little hooked or slotted ones made for this job)
- Disposable gloves
- Rubbing alcohol or a pet-safe antiseptic
- A small sealed container or zip-top bag
- A helper, if your pet is wiggly
Step-by-Step Removal
- Put on gloves. This is as much about protecting you as your pet.
- Part the fur. Get a clear view of where the tick is attached. Good lighting helps, and a helper can hold and comfort your pet.
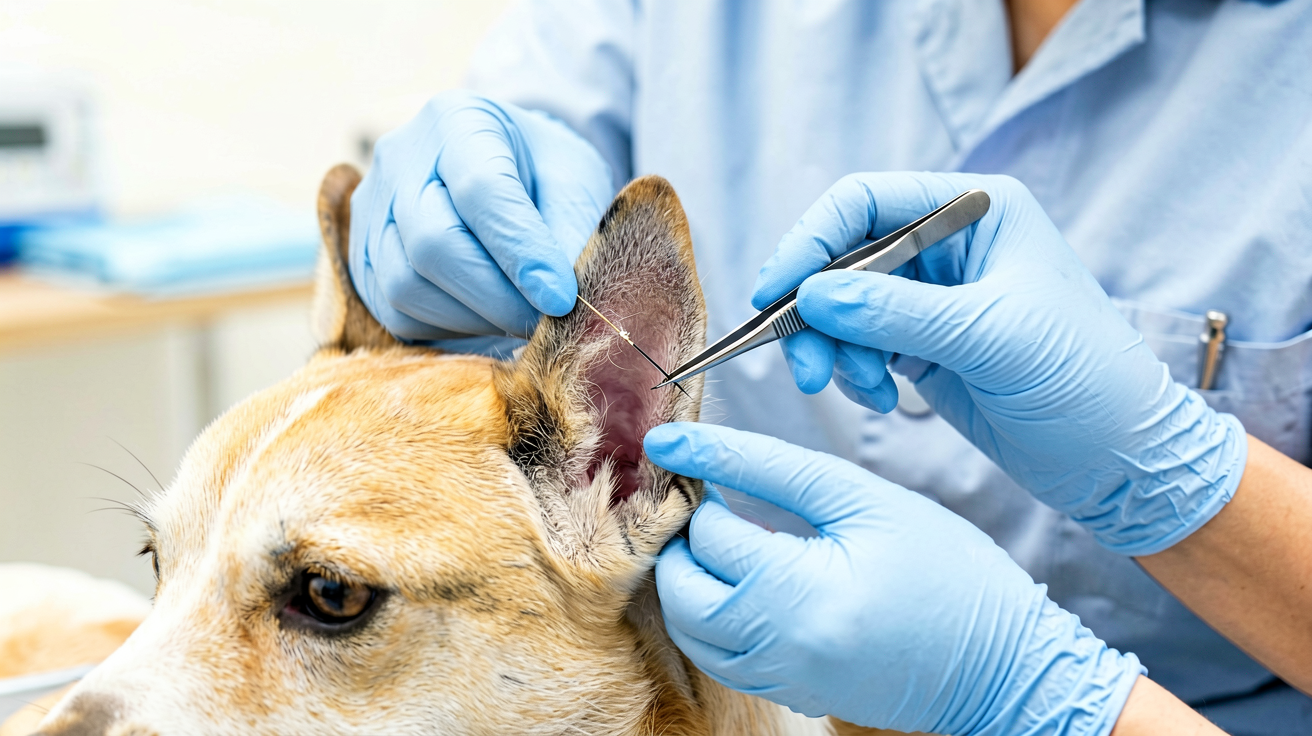
- Grasp close to the skin. Aim for the tick's head and mouthparts — as close to the skin as you can get — not the bloated body.
- Pull straight up with slow, steady pressure. Don't twist, don't jerk, don't yank. Just even, steady tension until the tick releases. It can take a few seconds, so be patient.
- Clean the bite. Wipe the area with rubbing alcohol or a mild antiseptic, and wash your hands thoroughly.
- Save the tick. Drop it in the sealed container. If your pet develops symptoms later, being able to show what kind of tick it was can genuinely help.
- Dispose safely. Never crush a tick with your fingers. Sealing it in a container or wrapping it in tape are both fine.
What If the Head Stays In?
Sometimes the body comes away and the mouthparts stay embedded in the skin. First, don't panic and don't start digging at it with a needle — that usually does more harm than good. If you can see the leftover bit, you can try gently lifting it out with fine-tipped tweezers. If you can't get it cleanly, leave it alone and let a professional handle it. The body often works small remnants out on its own, but a stubborn piece is worth a quick look.
When to Skip DIY and Go Straight to the Vet
Most ticks are a quick at-home job, but some situations are better left to a professional:
- The tick is in a tricky spot — near an eye, inside an ear, or between the toes.
- You can't remove the whole thing, head included.
- There are several ticks, or your pet is clearly in distress.
- The bite site looks red, swollen, or oozy in the days after.
- You just don't feel confident — that's a perfectly good reason to hand it over.
Watch for These in the Weeks After
Once the tick is out, keep an eye on your pet for a few weeks. Call the vet if you notice any of these:
- Fever or lethargy
- Lameness or swollen joints
- Loss of appetite or weight loss
- Vomiting or diarrhea
- Swollen lymph nodes
- Red or brown urine, or unusual bruising or bleeding
These can be early signs of a tick-borne illness, and catching them early usually makes treatment a lot easier.
The Best Defense Is Prevention
Removing ticks is a useful skill, but keeping them off in the first place is even better. Year-round flea, tick, and parasite prevention is the single most effective thing most owners can do, and it's worth talking through the options with your vet — even for pets who mostly stay indoors, since ticks can hitch a ride inside on clothes and shoes. After walks in tall grass or woods, a quick check of the ears, neck, armpits, and between the toes is a cheap habit that catches ticks before they've had time to attach for long.
At the end of the day, one tick isn't a crisis. Found early and removed the right way, most pets shake it off without any trouble at all. The trick is staying calm, using the right technique, and knowing when to call in backup.
Have you ever pulled a tick off your pet? What did you use — and did the head give you trouble? I'd love to hear how it went.
This article is for informational purposes only and is not a substitute for professional veterinary advice, diagnosis, or treatment. Always consult a licensed veterinarian if your pet shows signs of illness, injury, or distress. If you believe your pet is experiencing a medical emergency, contact your veterinarian or the nearest emergency animal hospital immediately.
🐾 Enjoyed This Article?
Save it for later, share with a fellow pet parent, or check out more tips on our homepage!
📩 Never Miss a Tip
Get our best pet care hacks delivered straight to your inbox. No spam, unsubscribe anytime.